


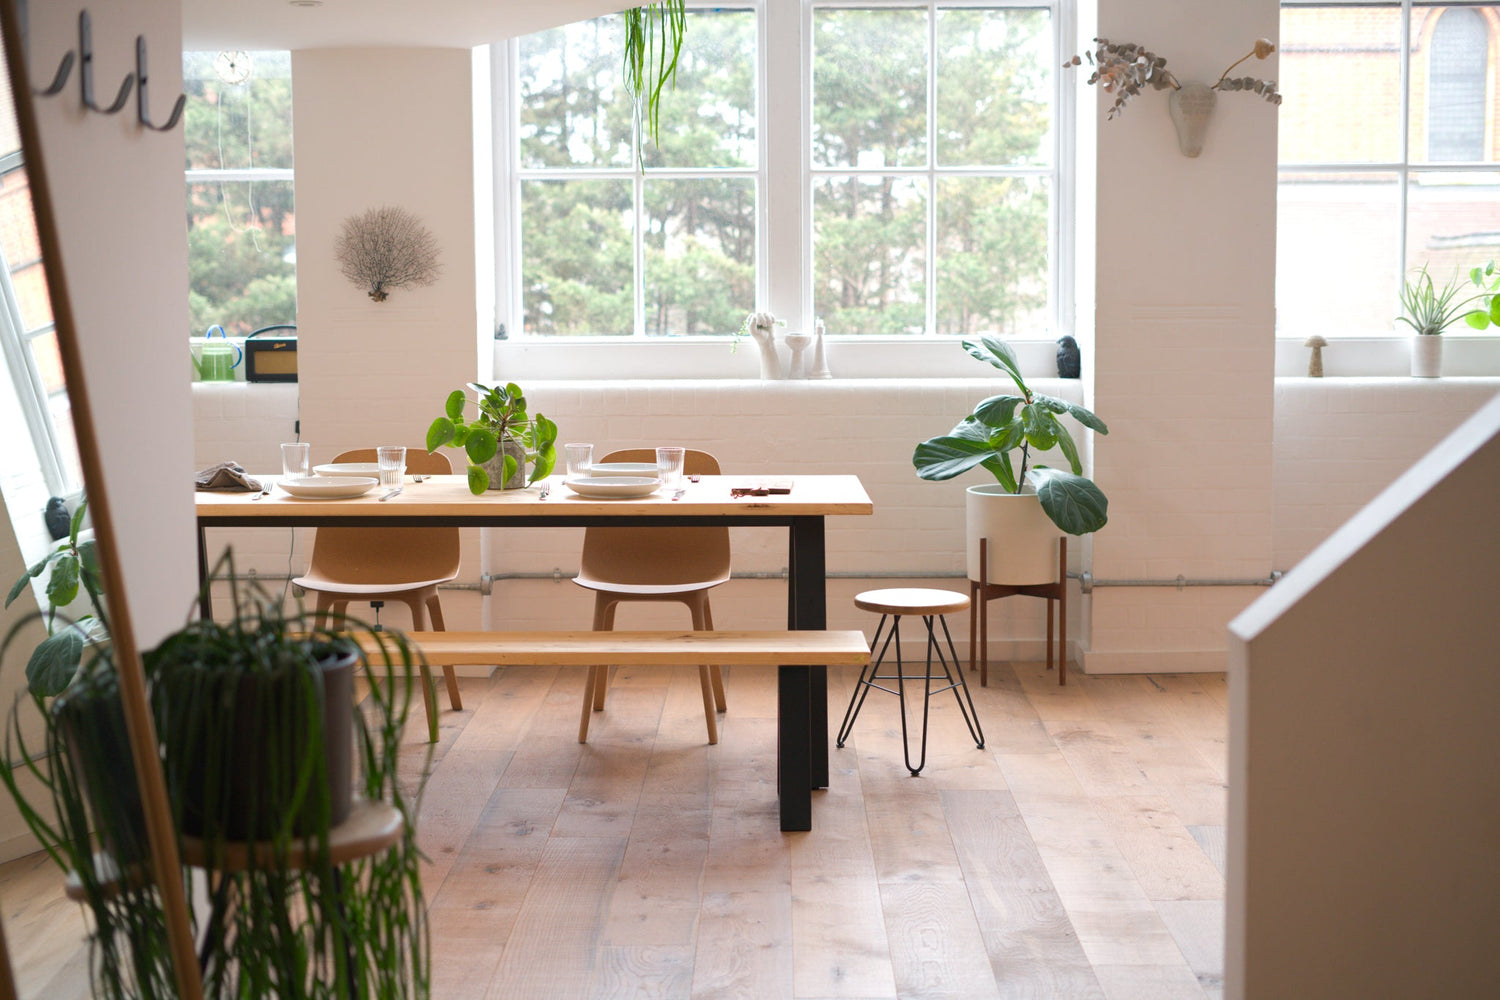
Plywood is strong, stable, and surprisingly easy to work with - perfect for a modern, Scandi-inspired table that looks custom-built without the workshop drama. We’ll show you how to build a table from plywood in this guide so you can create your own work of art!
Building a plywood table is great because it cuts cleanly and costs far less than solid wood while still giving that handcrafted feel. Here’s a super simple overview of how to build a table with plywood, which we’ll dive deeper into below:
- Choose the right type and grade of plywood
- Cut and prep your tabletop
- Attach your table legs
- Sand, finish, and seal for longevity
We’ll set you up for success, not just with tips on how to build a table from plywood but also the finest table legs available, right here at The Hairpin Leg Co. Both our metal table legs and our wooden table legs are made for makers who won’t settle for less than the best.
Explore our full collection today to find the perfect foundation for your next plywood project!
“Seems like a top quality product that is very well made. It arrived quickly and was easy to assemble.” - Jim
“Easy to order on the website. My queries were answered swiftly and to my satisfaction. Product arrived well packaged and on time. Very pleased with how the legs look!! My dining table which I’ve had for 40 years is transformed!!” - Annette
“Easy to order, quick delivery and the legs are of great quality. Apparently they were easy to install to the desk top and they look great! Very happy.” - Judith
Benefits of Building a Plywood Table
Of all the materials you have at your disposal, plywood is among the best for DIY tablemaking - especially for newbies who want to streamline the process. Here’s why we love DIY plywood tables:
- Stable and Long-Lasting: The material’s alternating grain layers give it strong dimensional stability. It won’t twist or swell as much as solid wood, so your table holds shape for years with minimal upkeep.
- Lightweight, Yet Strong: Despite its layered construction, quality plywood like Baltic birch is surprisingly light. It’s easy to handle, cut, and move, even for first-time builders.
- Smooth, Clean Aesthetic: The uniform surface/subtle grain pattern works wonderfully for modern or Scandinavian-style furniture. It looks great raw, stained, or painted.
- Cost-Effective Quality: You get the visual appeal and performance of hardwood without the price tag. High-grade plywood fits into most budgets for DIY and trade makers alike.
- Simple to Work With: It’s already dimensionally consistent and easy to cut, so there’s little to no guesswork. There’s no planing, jointing, or complicated joinery necessary.
But the first thing you need to know about building a plywood table is that materials matter, and not all plywood is the same as far as quality goes…
Not All Types of Plywood Are Made Equal!
The type and grade of plywood you choose directly influences how your finished table looks, feels, and holds up over time. This is not something you should take lightly!
Types of Plywood
Plywood can be categorised as either softwood or hardwood.
Softwood plywood is typically made from pine or fir. It’s affordable and easy to work with, but better suited for painted or utility projects. Hardwood plywood, on the other hand, uses species like oak or birch for a denser core and refined finish. It’s best for furniture that will be on display.
Here are some more specific types you can choose from:
- Cabinet-Grade Plywood: High-quality material with minimal voids and a smooth surface, perfect for projects that need a professional finish.
- Marine Plywood: Designed for moisture resistance, great if your table may face spills or humidity.
- Baltic Birch Plywood: The premium choice for furniture. Known for strength, uniform layers, and a clean edge that looks great even without edging tape.
We recommend building a plywood table from Baltic Birch if you can. It’s usually the most expensive option, but you get what you pay for. The finish is second to none. Even once you narrow it down to a type, though, you need to think about grade.
Different Plywood Grades
The plywood’s grade speaks to its quality and appearance. As you can imagine, plywood that’s closer to “perfection” is going to cost you more. You can save money by going with a lower grade, but like we just said, you get what you pay for. Plywood grades include:
- A Grade: Smooth, sanded, and free from knots; best for show surfaces.
- B Grade: Small knots or minor blemishes, ideal for staining or painting.
- C Grade: More visible imperfections, typically used for hidden or structural areas.
- D Grade: Rough, with knots and patches; rarely used for furniture.
Each side of the board has its own separate grade. Most makers choose BB or BC grades. This is a pretty practical balance between appearance and price. Ultimately, though, the choice is yours. What else do you need before we get into how to build a table from plywood, though?
What Else Do You Need For Building a Plywood Table?
You’ll need the basics: a plywood sheet (we recommend using 24mm thick plywood, or at least 18mm thick plywood for smaller tables), table legs and mounting hardware, sandpaper, filler, wood finish or paint, a circular or table saw, and a drill. Clamps, a measuring tape, and a level also come in handy.
While we can’t help you with all the essentials, we can set you up for success with the best selection of table legs in the UK and worldwide. We’ve been empowering makers for well over a decade with strong, stylish legs that are super easy to work with.
Each leg is precision-engineered from heavy-gauge steel or high-quality European oak. Choose from hairpin, industrial box section, or tapered wooden legs, all available in multiple finishes and sizes.
Every leg ships next-day from our UK workshop so you can get started building a plywood table ASAP. Your order is backed by our hassle-free 60-day return policy, too. Join thousands of customers who trust Hairpin Leg Co. for all the different types of table legs today.
How to Build a Table From Plywood: Step-by-Step Guide
Ready to learn how to build a table from plywood? This step-by-step guide takes what is already an easy process and simplifies it further so you can feel confident getting started, even if you’ve never built anything before! Here’s how to build a table with plywood.
Step 1: Design and Measure Your Table
Start by sketching a quick plan. You need to know what type of table you’re making before you can order legs or even purchase plywood, after all. Is it a coffee table, dining table, or desk?
Then, you can figure out the optimal dimensions for the plywood along with ideal leg sizes. For reference, dining tables are typically 71-76 cm tall, while coffee tables sit around 30-46 cm.
Mark your plywood sheet carefully using a straightedge and pencil. Trust us, precise measurements now will save you sanding and trimming later.
Step 2: Cut the Plywood to Size
Use a circular saw or table saw for clean, straight cuts. Most timber yards will do this for you if you don’t have access to a saw.
If you are handling the cutting yourself, clamp a guide to keep your saw from wandering, and support both sides of the sheet so it doesn’t splinter as you finish your cut. Lightly sand all edges with 120-grit sandpaper once you’re done cutting. This removes rough fibres/splinters.
Step 3: Attach the Table Legs
Lay the plywood top upside down on a soft surface. Position your table legs where you want them. We have a more detailed article on where to place table legs for stability, but the optimal table leg distance from the edge is usually 5-7 cm from each corner.
Pre-drill small pilot holes to prevent splitting, then screw the legs in place using the included hardware. Check the alignment by flipping the table upright and testing for wobble. Adjust if needed before tightening fully.
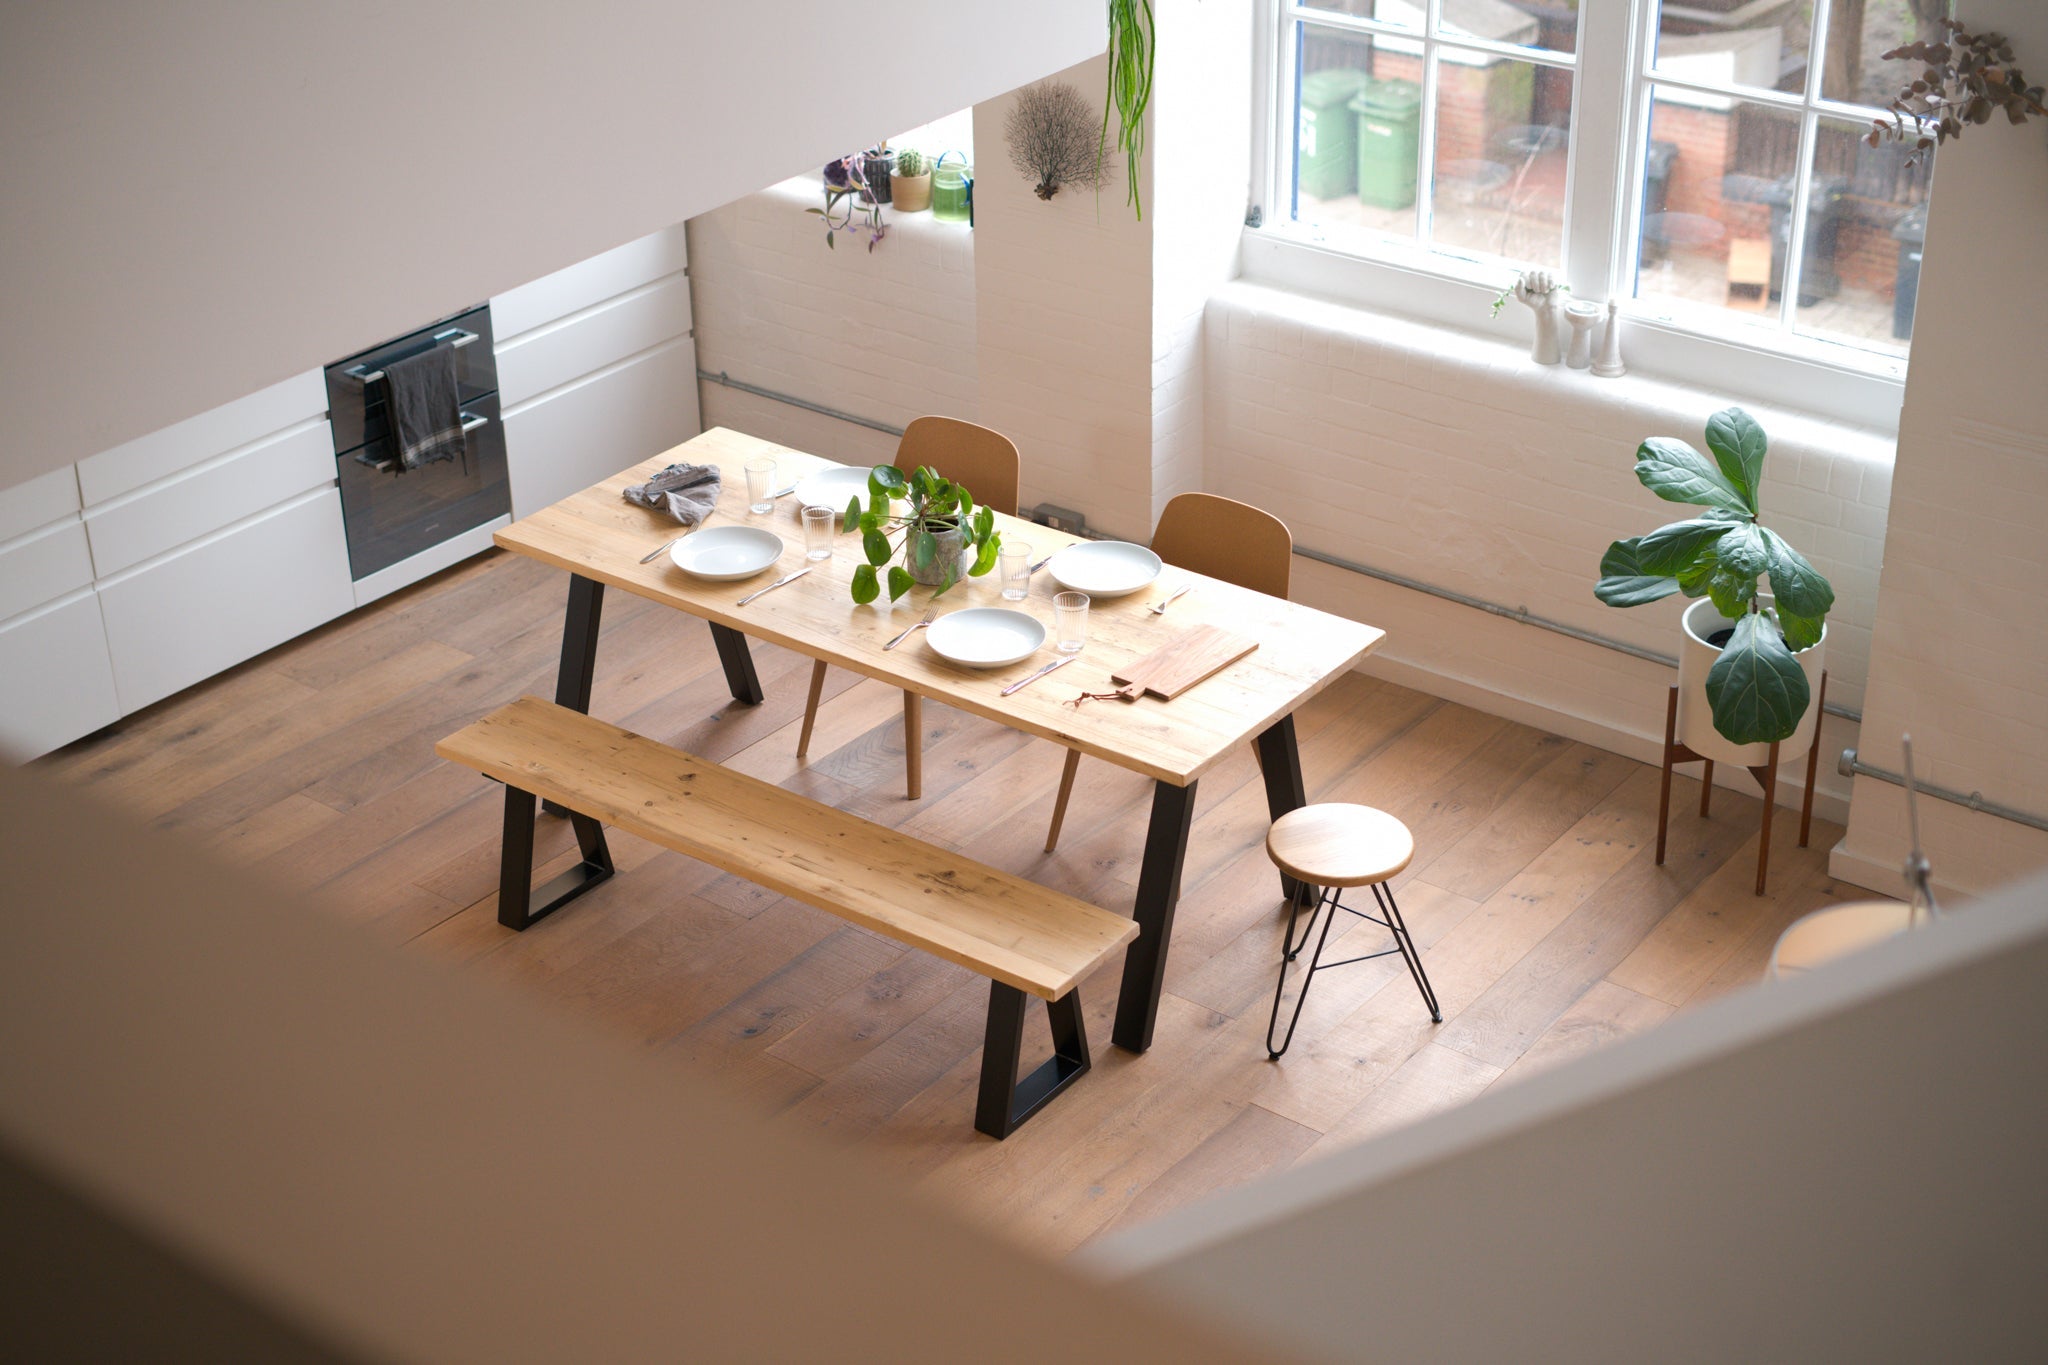
Pro tip: Hairpin legs pair perfectly with plywood if you’re going for a sleek, modern look. Box-section or frame-style legs are great for something heavier or more industrial.
Step 4: Fill, Sand, and Smooth
Use wood filler to patch any screw holes, seams, or small gaps. Sand again once it’s dry, working up through finer grits (180 → 240) until the surface feels silky to the touch. Wipe away all dust with a clean, damp cloth. A spotless surface is the foundation for a flawless finish.
Step 5: Apply Your Finish
You’re almost done learning how to build a table from plywood. We just need to add some personality now with a finish. This step also protects the wood from moisture, stains, and wear. There are a few directions you can take this:
- Stain or oil for a natural, warm tone that shows off the plywood’s grain.
- Paint for bold colour or full coverage. Use primer first for best adhesion.
- Seal with varnish or polyurethane to protect against scratches and spills. Apply at least two coats, sanding lightly between each one for an even, professional result.
If you followed our advice earlier and chose Baltic Birch for your DIY plywood table, you might consider leaving the edges exposed. A clear matte polyurethane will highlight the layered structure beautifully.
Step 6: Inspect and Finish the Details
Check all edges and corners for rough spots.
And there you have it, how to build a table from plywood! You can step back, admire your work, and feel fulfilled knowing you just turned a simple sheet of plywood into something useful, sturdy, and stylish.
Final Words on How to Build a Table With Plywood
Building a plywood table proves that great design doesn’t need to be complicated or expensive. It just has to be crafty! You can create furniture that looks clean, modern, and built to last now that you know how to build a table with plywood.
So what are you waiting for? Whether you make DIY table legs to go with it or shop precision-engineered table legs at The Hairpin Leg Co., it’s time to get to work. Start building a table that’s entirely your own today!
Leave a comment
This site is protected by hCaptcha and the hCaptcha Privacy Policy and Terms of Service apply.