


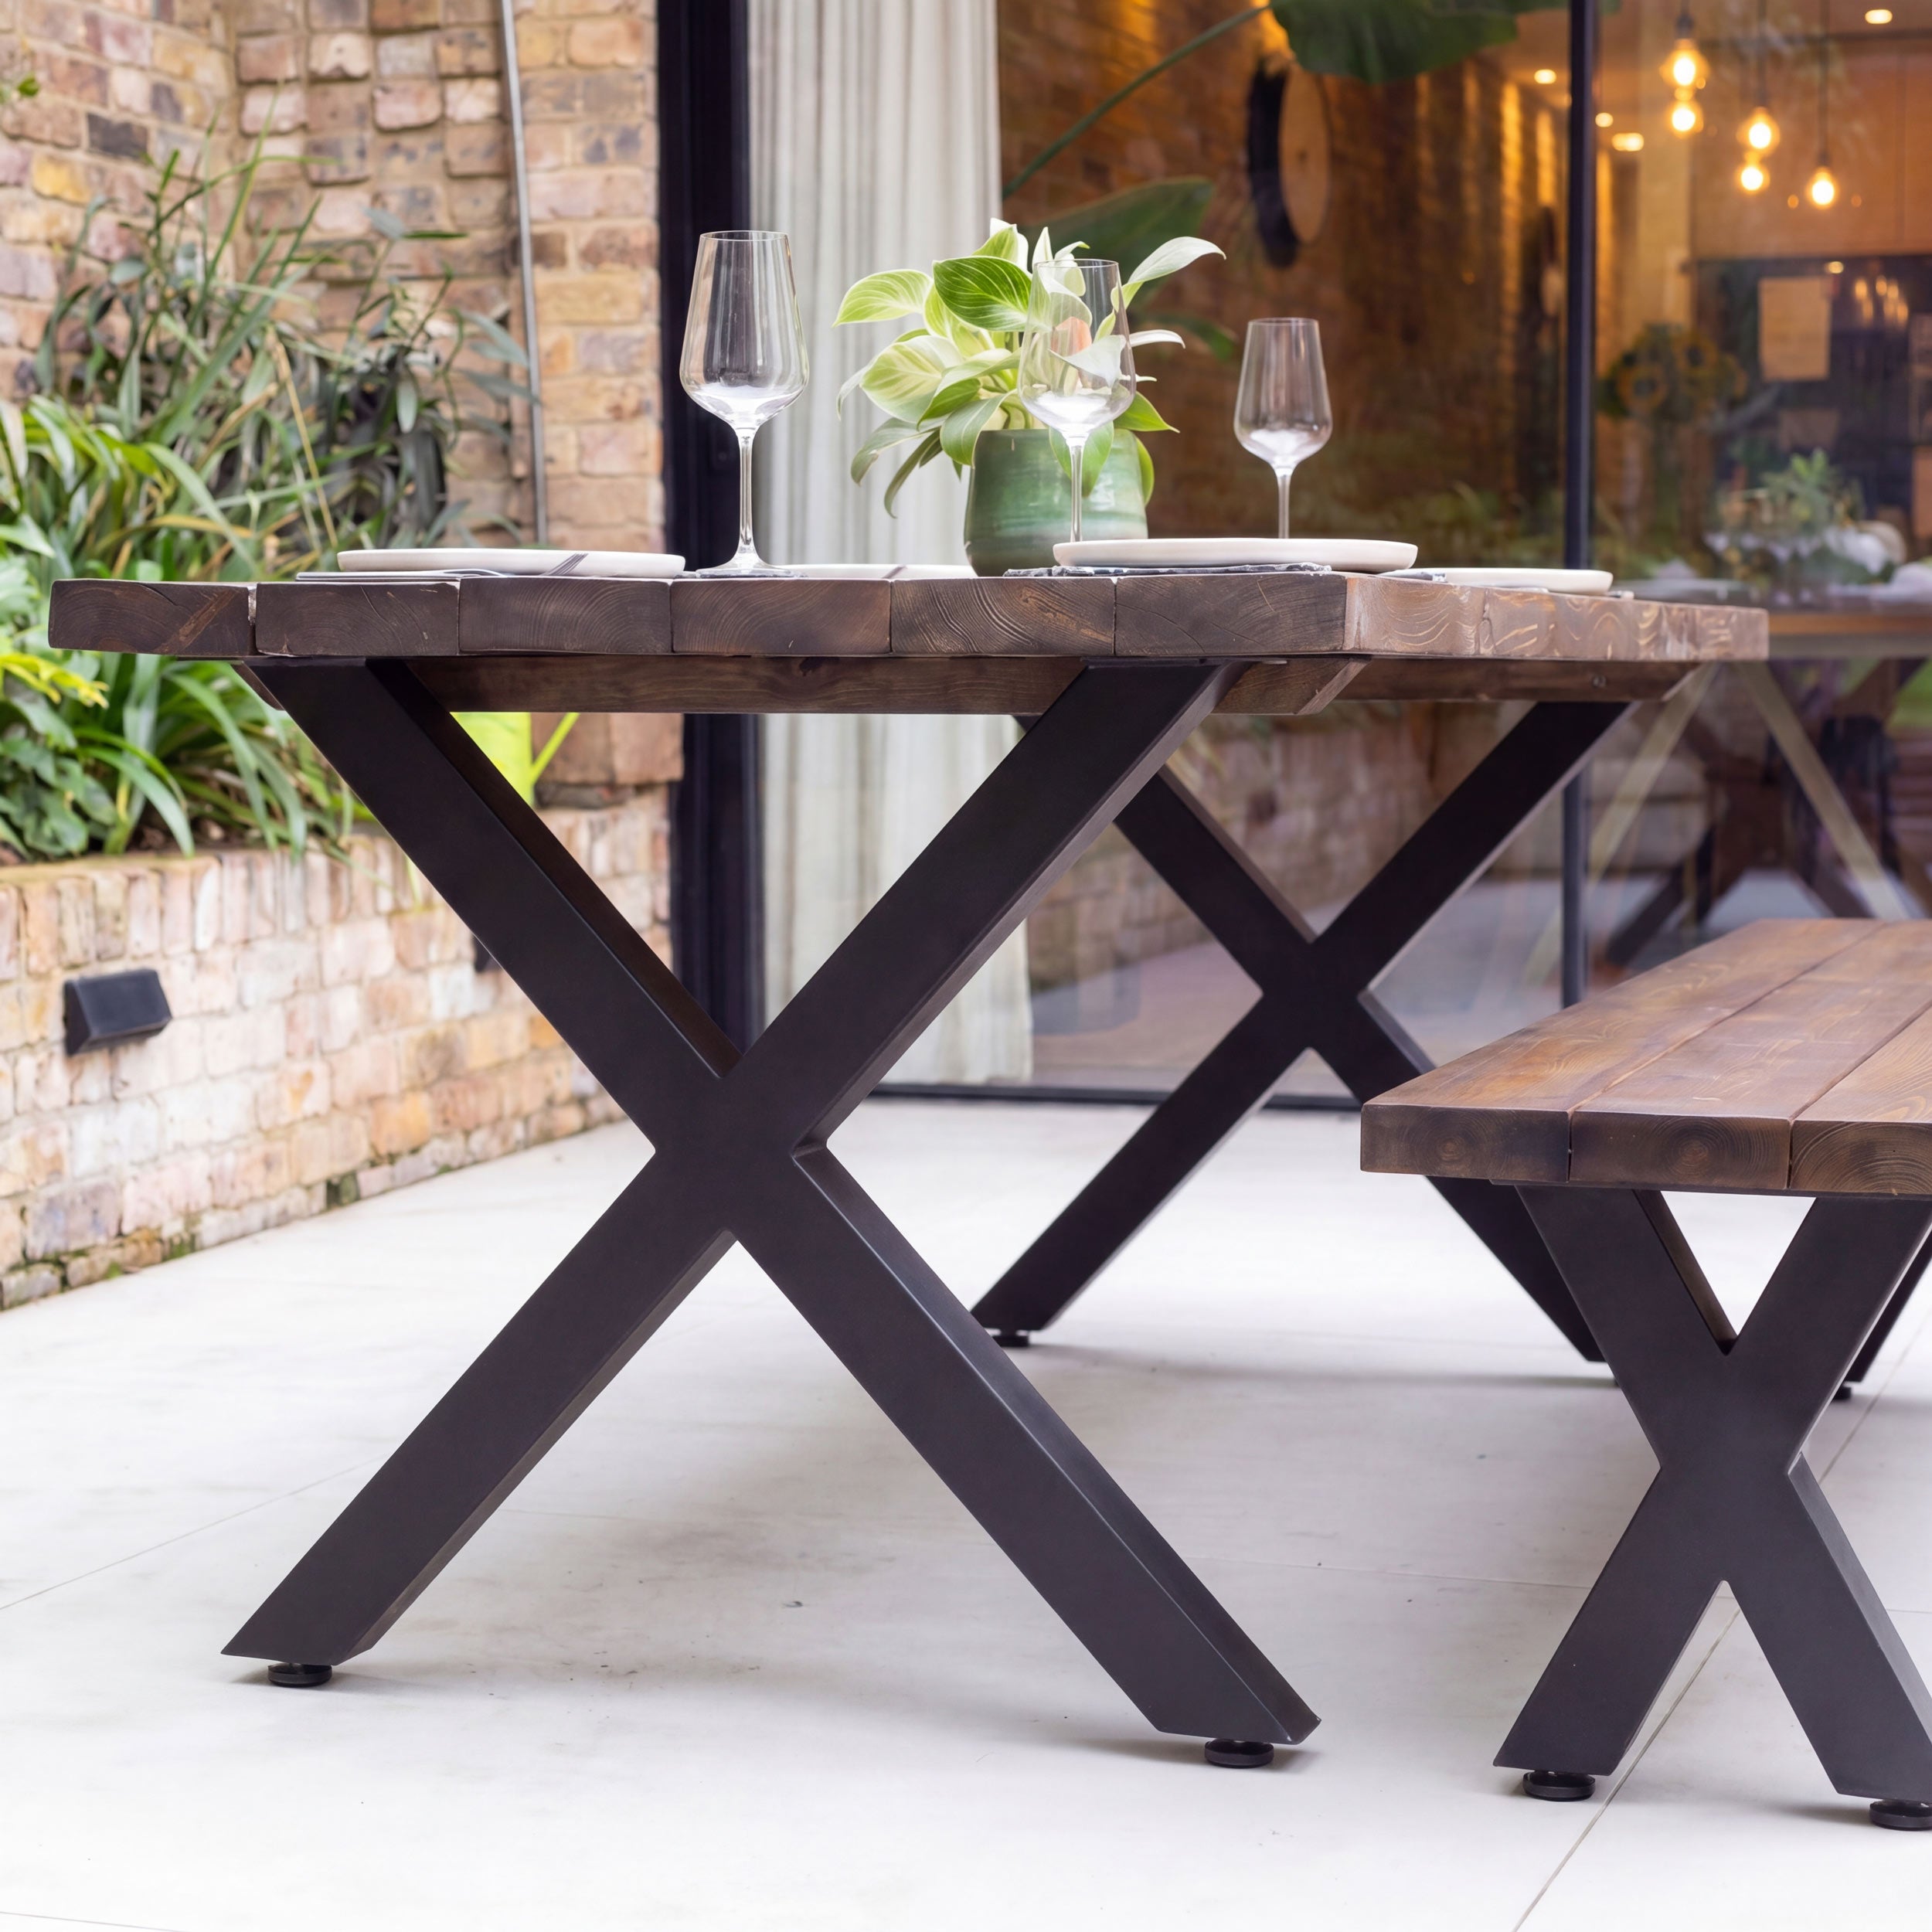


Looking for a scaffold board table DIY guide? Your search ends here. We’ll walk you through how to build a scaffold board table step-by-step below. You’ll feel confident making your own table that’s solid, sustainable, and packed with character.
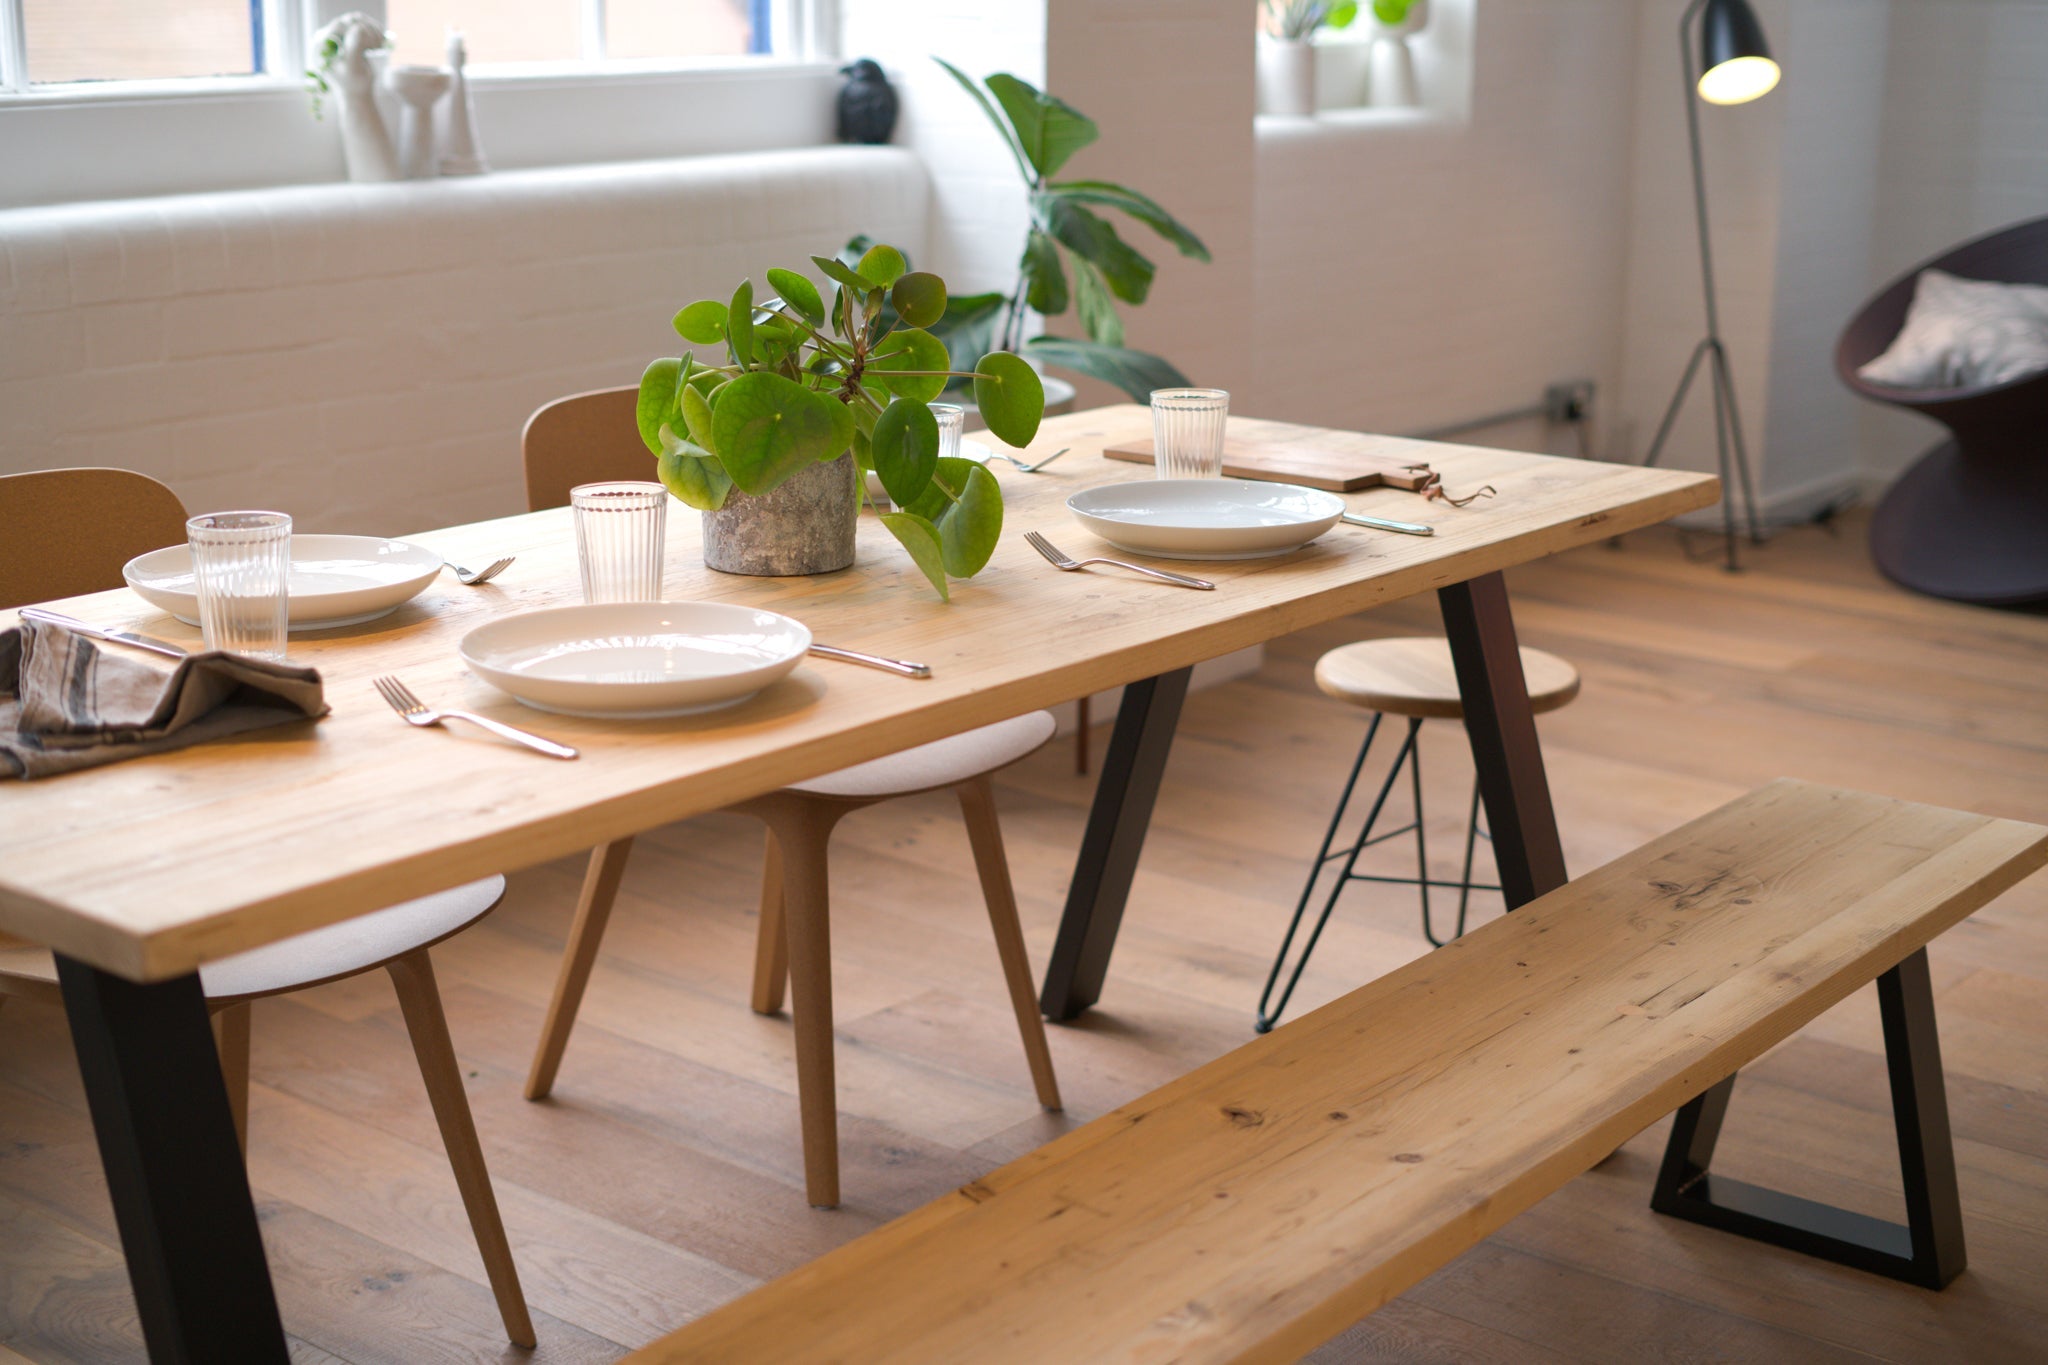
Each board tells a story, and you can create a statement piece that feels both rugged and refined when you pair it with the right table legs. There are two ways you can go about it:
- A rustic method with visible planks
- A professional approach for a seamless finish
Either way, the first thing you need to do is pick the perfect metal table legs or wooden table legs here at The Hairpin Leg Co. Everything we make is precision-engineered from durable materials so you can trust you’re building a scaffold board table that will stand the test of time.
Find your perfect set and start building today!
“The Hairpin Leg Company is far and away the best source of this type of table legs that I have found. Their variety of colours is wonderful, quality top notch, and their service is fantastic. I won't do business with anyone else!” - Peter
“Great products and transformed our old table into something modern which we now love again.” - Connor
“I have recently bought legs for two items of furniture. They complement each other. They are really strong and stylish. The legs arrived quickly by courier. They were easy to buy in the first place.” - Stephen
How to Build a Scaffold Board Table DIY
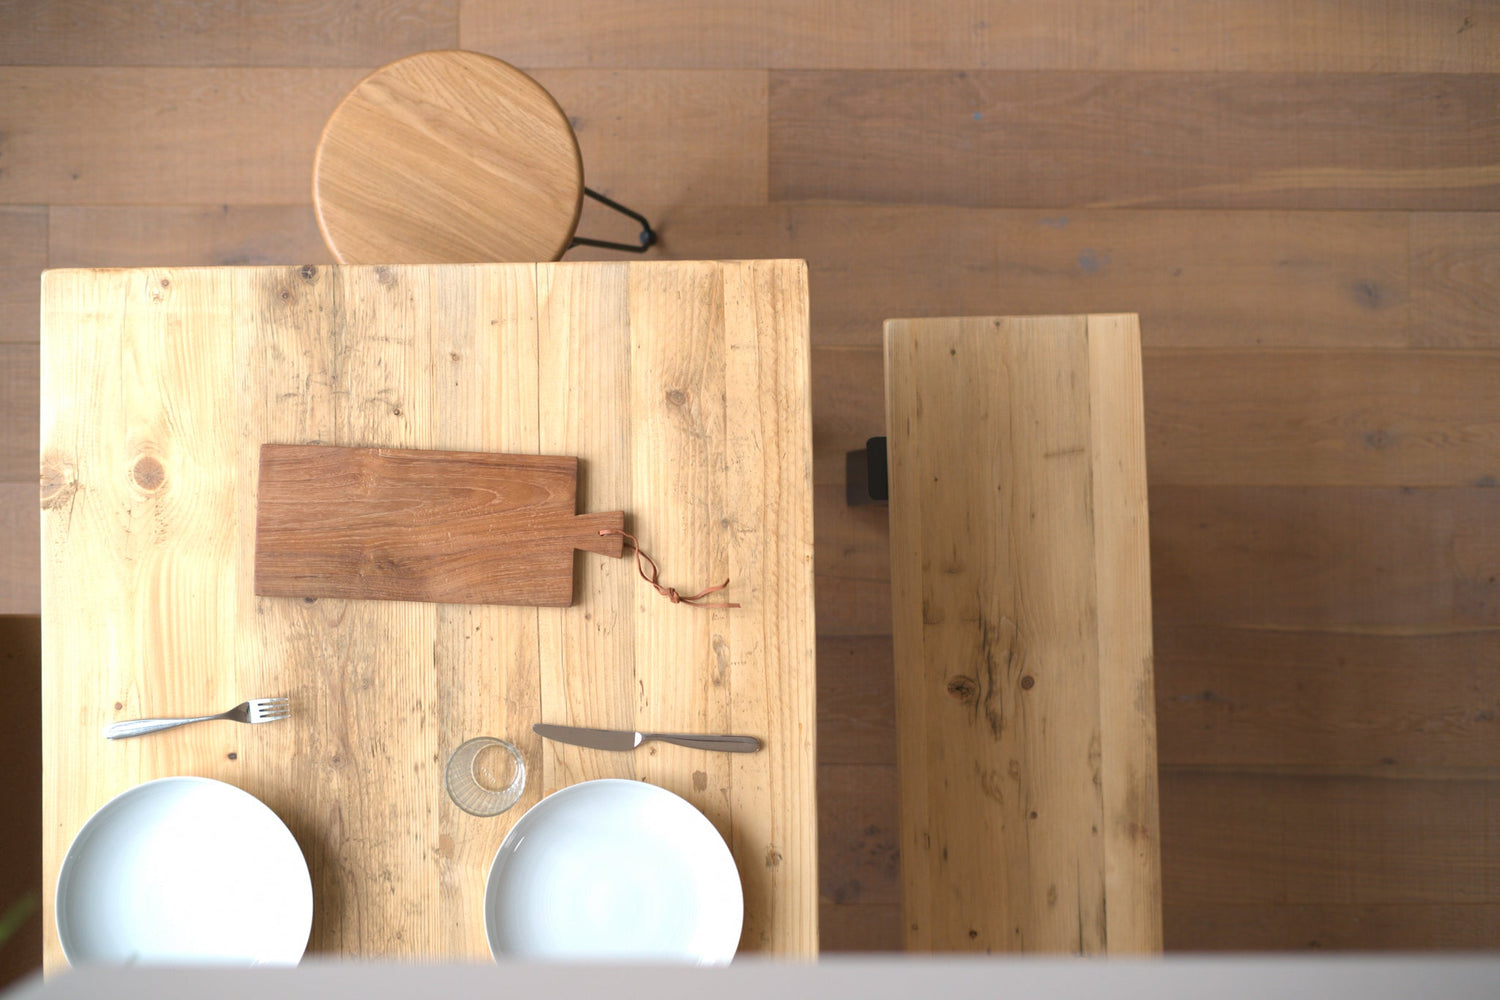
A scaffold board table is built from reclaimed or new scaffolding planks. These thick, durable boards bring a raw, industrial charm into any space. They’re naturally strong, full of character, and perfect for anyone who loves furniture with a story.
But which method should you go with for your scaffold board table DIY? We’ll show you how to build a scaffold board table both ways so you can make your own decision.
The Rustic Method
The rustic method keeps the charm of individual planks visible, gaps and all, for a raw, reclaimed aesthetic that pairs perfectly with full-width or hairpin legs.
What You Need
- Scaffold boards (reclaimed or new)
- Saw (circular or hand saw)
- Electric or manual sander
- Drill with drill and screwdriver bits
- Wood screws (50-60mm)
- Measuring tape and pencil
- Wax, oil, or paint for finishing
- Optional: clamps and spacers
Step 1) Prepare the Boards
Start by giving your boards a clean-up if need be. Remove any end braces, nails, or debris, and decide whether you’ll keep the metal ends for a more industrial look. Cut the boards to your desired table length. Doing this before joining makes sanding and finishing easier.
Next, sand down the surfaces. The goal here isn’t perfection. After all, the charm of a rustic table lies in its texture. Smooth out splinters and rough spots, but let the natural wear and grain shine through.
Step 2) Join the Boards
Lay your boards flat with around a 5mm gap between each (you want a little room for expansion). Cut two or three shorter battens (about 10cm shorter than the table width) to secure them.
Then you can position these across the underside of the boards and screw them in place. You’ll use two battens for tables under 150cm, three for anything larger.
Scaffold boards make excellent battens themselves, but 18mm plywood works too works well too if you want to keep the table thinner. Whatever direction you take, this step gives your tabletop structure and prevents twisting or warping over time.
Step 3) Attach the Legs
Flip the top over once it feels fairly solid. It’s time to actually bring your DIY scaffold board table to life by attaching the legs.
We’ll talk more about the types of table legs you can use later on (for scaffold board table DIY in general), but full-width or box-section legs are ideal for the rustic method. They attach directly to the battens for a simple, strong setup.
OR you can go with corner legs or hairpin legs. Attach these either to the battens or straight into the scaffold boards, depending on your design. Our blog has more tips on where to place table legs for stability.
Pre-drill your holes to avoid splitting, then screw the legs in place securely. A quick level check at this stage saves headaches later.
Step 4) Finish the Table
All that’s left to do now is bring it all together with a finish. You can go natural with clear oil or wax to showcase the wood’s grain, or apply stain for deeper colour. Matte finishes tend to look best on scaffold boards if you want a more rugged aesthetic.
Apply your chosen finish with a cloth or brush, let it dry, and add a second coat if needed. And there you have it, how to build a scaffold board table that’s sturdy and full of character! It’ll look like it’s been a part of your home for decades, because you made it that way.
The Professional Approach
The professional method takes things a step further than the previous scaffold board table DIY guide. You’ll plane, joint, and glue the boards into a single, seamless slab with square edges and a refined finish.
While there’s some overlap with the rustic method, pay attention to the nuances below. Here’s how to build a scaffold board table the professional way:
What You Need
- Scaffold boards (reclaimed or new)
- Table saw or circular saw with guide
- Electric sander (orbital or belt)
- Drill with bits
- Wood screws (25-35mm)
- Wood glue
- Clamps (at least three full-width)
- Optional: dowel jig or Festool Domino for jointing precision
- Optional: surface planer for a perfectly flat finish
Step 1) Prepare the Boards
Remember, scaffold boards often come with rounded edges, dents, or imperfections. The goal here is to turn them into clean, uniform planks.
Start by cutting each board to your desired length, selecting the best grain and least damaged sections. Then trim one edge using a table saw and a 90° guide, removing roughly 1cm to square it off.
Once every board has one clean edge, flip and cut the opposite side to 200mm wide. Keep all boards the same width for a tight, consistent fit when joined later.
Step 2) Join the Boards
There are two main ways to join the prepared planks:
- Glue and Slotted Brace: Apply a generous coat of wood glue to the freshly cut edges and clamp the boards together tightly. Dowels/domino joints can be added for stability. Once clamped, let the glue dry for 24-48 hours. Remove excess glue and fit slotted braces across the underside for strength while allowing for slight wood movement.
- Mechanical Join (No Glue): Use slotted or fixed braces alone to hold the boards together. This approach leaves room for a small amount of movement as the boards settle indoors from their original 15-20% moisture level to around 8-12%. You may see tiny gaps appear later, but it keeps the look authentic to reclaimed wood.
Step 3) Sanding/Planing
Sand or plane the entire surface flat once the boards are joined. Start with a coarse grit (80-100) to even out the joins, then move up to 180-240 for a smooth finish. You can make a perfectly level tabletop with a surface planer, but an orbital sander will work just fine if not.
You want to create a continuous surface that feels like a single slab, not separate boards. Take your time. This is ultimately what transforms your build from handmade to handcrafted.
Step 4) Attach the Legs
You’re ready for the final touch now - your table legs. This version creates a solid sheet so you can attach the table legs directly to the underside using the supplied screws.
The Hairpin Leg Co. offers legs specifically designed to fit 200mm-wide scaffold boards, complete with slotted holes for natural wood expansion. Again, mind the proper table leg distance from edge and you’ll be ready to enjoy a stunning work of art!
Whether you choose slim hairpin legs for a clean, minimalist aesthetic or box-section steel for a bold industrial look, this is where design meets engineering. The result is a scaffold board table DIY you’re proud to show off.
Choosing the Right Legs For Your DIY Scaffold Board Table
Since 2013 we’ve been empowering makers and DIYers with the finest furniture legs on the market, precision-engineered from heavy-gauge steel or stunning European Oak.
From our iconic hairpin legs that give a light, modern look, to industrial box-section frames that ground your build with bold structure, every leg is made to impress and serve its purpose for years to come.
You’ll find a range of heights, finishes, and mounting options, including slotted holes to accommodate wood movement, along with a detailed builder’s guide to take the stress out of figuring out how to build a scaffold board table - or any other type of DIY project, for that matter.
We ship fast, offer dependable support, and stand behind every design we make with a hassle-free 60-day return policy. Whatever your style - rustic, refined, or somewhere in between - you’ll find the perfect legs to make it happen!
Wrapping Up Our Scaffold Board Table DIY Guide
That does it for our guide on how to build a scaffold board table!
Building a scaffold board table DIY is a fun, fulfilling project where you get to put your creativity and craftsmanship on display. Both methods we shared today give you the satisfaction of making something real with your own hands.
Pair that hard work with the right set of legs from The Hairpin Leg Co., and you’ll have a table that’s as solid as it is stylish - built by you, supported by us. Bring your DIY scaffold board table to life today!

Leave a comment
This site is protected by hCaptcha and the hCaptcha Privacy Policy and Terms of Service apply.