


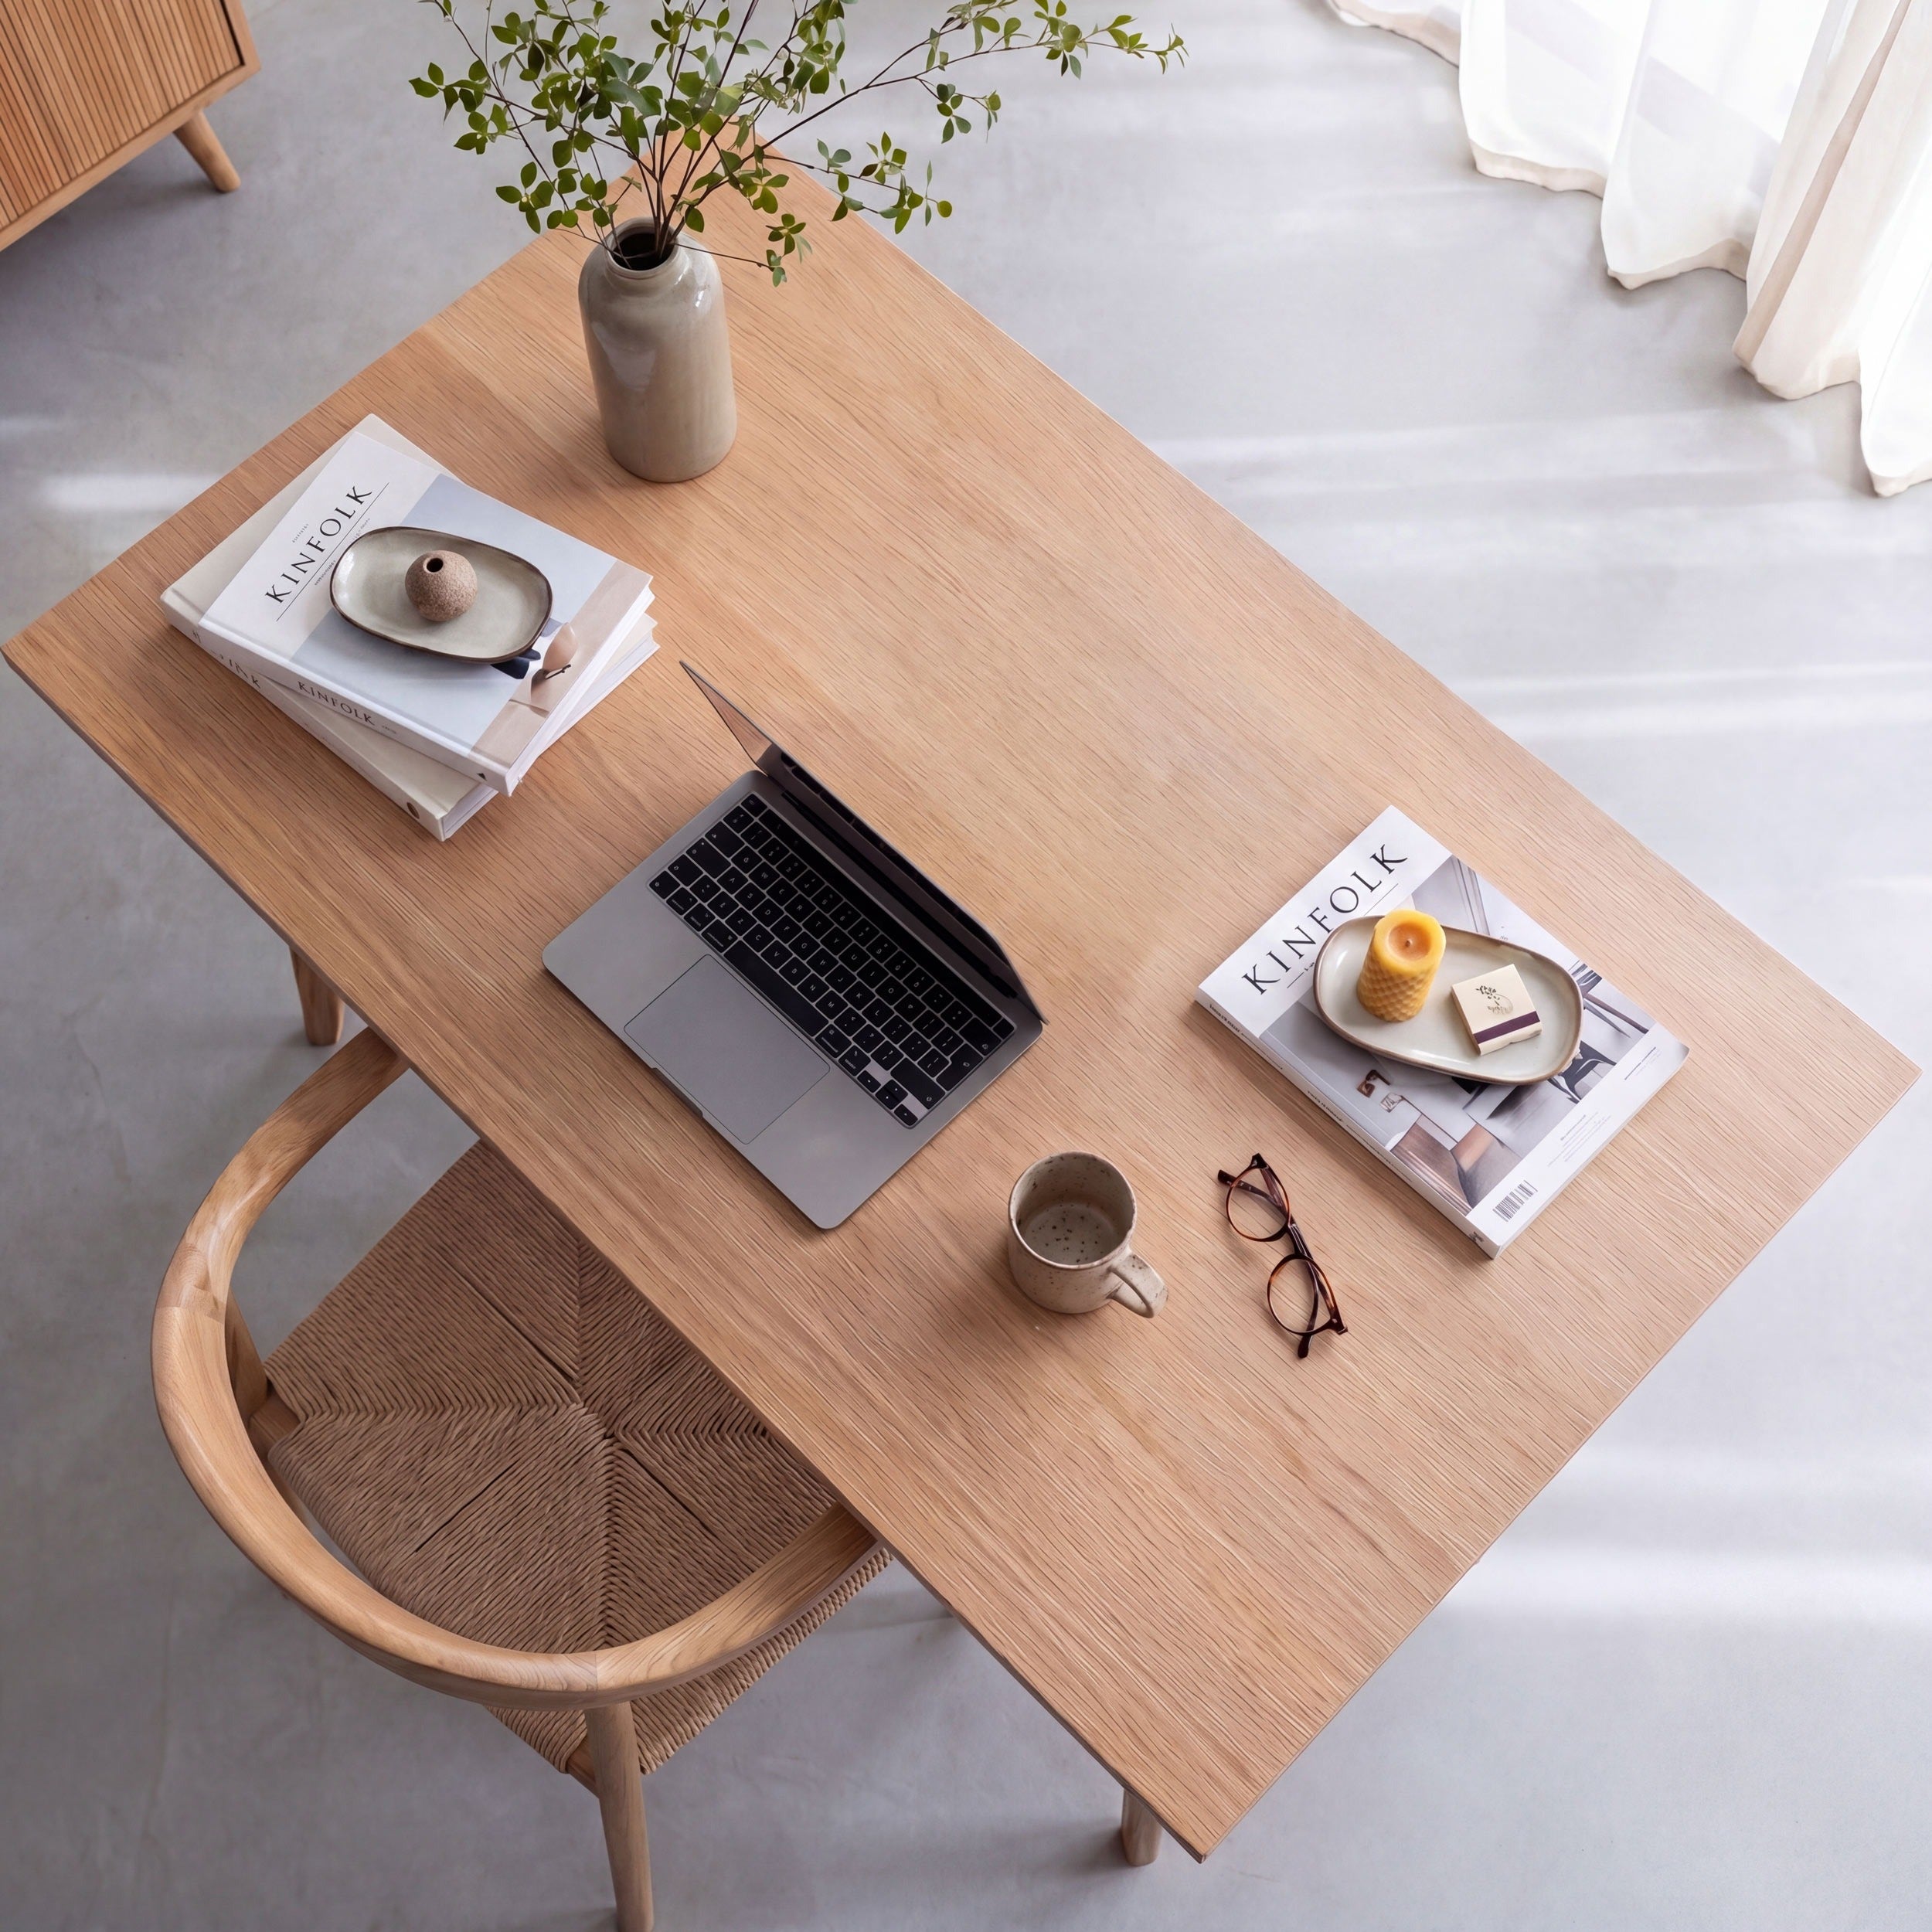



Building a hairpin leg desk is easier than you might think, and it’s one of the best ways to elevate your workspace. The aesthetic is one-of-a-kind - clean lines, a light footprint, but still plenty of strength for everyday work.
Whether you’re upgrading a home office or a professional workplace, we’re going to show you how to build a desk with hairpin legs below. You’ll get the insights you need, the hairpin legs, and you can even find the table tops you need in our lineup as well.
“Beautifully made and high quality. I love my new desk!”
“Great product, exactly right for my project. These hairpin legs have turned an old Victorian door into a very smart new desk. Easy to order, promptly delivered.”
“Super fast delivery on high quality products. The heavy-duty three-pin desk legs were exactly what we were looking for and on receipt of them, it's clear they are of the highest quality.”
Why Hairpin Legs?
These slim, steel table legs are formed from bent solid steel rod, originally made to be strong without adding much visual weight. They balance structure and simplicity better than most other furniture legs, which is why they’re such a great choice for a desk. Hairpin legs:
- Create a desk that looks light and uncluttered
- Leave plenty of legroom underneath with no bulky frames in the way
- Are strong enough for everyday work, monitors and equipment when sized correctly
- Can be attached to a desk top easily with basic tools - perfect for DIY builds
- Pair well with solid wood, plywood or reclaimed tops
- Suit a wide range of styles, from home offices to creative studios
- Make it simple to adjust desk width by changing the top, not the base
What You’ll Need to Make a Hairpin Leg Desk
It helps to have everything laid out before we dive into how to build a desk with hairpin legs so you aren’t running back to the hardware store or placing another order at The Hairpin Leg Co. Here’s what you’ll need:
- A desk top (solid wood, plywood or laminated panel)
- A set of hairpin legs in the correct height for desk use
- Screws suitable for the thickness of your top
- Drill and drill bits for pilot holes
- Tape measure and pencil for accurate layout
- Spirit level
- Sandpaper or a sander for finishing the top (if necessary)
- Finish of your choice (unless your legs/table top are already finished)
- Felt pads or floor protectors for the feet
Don’t bother with DIY desk legs. Source the best hairpin legs online today. We’ve been supporting DIYers and makers for over a decade. Our metal furniture legs are crafted from premium steel and capable of holding between 60-120kg. You can choose from raw steel, clear coat, zinc, and stainless finishes, too.
Your order is backed by a 5-year warranty and a simple 60-day return policy. We have a more detailed guide on what size hairpin legs for desk work best if you’d like to learn more. You can also connect with our customer service team here at The Hairpin Leg Co. for one-on-one support if you aren’t sure which desk legs best suit your project.
How to Build a Desk With Hairpin Legs
Now that you’ve got your materials and tools on hand it’s time to get into how to build a desk with hairpin legs. Start by getting the desk top right.
Prepare the Desk Top
Whether you’re using solid wood, plywood or a laminated panel, make sure it’s flat and properly finished before you attach anything underneath. Sand the surface smooth, break the sharp edges and apply your chosen finish now while the top is easy to handle. This part becomes awkward once the legs are on.
Position the Legs
Turn the top upside down and place the legs where they’ll sit.
Exact positioning is more of an aesthetic choice than a performance concern. Leave roughly a 50 mm gap between the edge of the base plate and the edge of the desk if you’re unsure. This keeps the desk looking balanced and helps with skirting board clearance when the desk is against a wall.
Make sure the legs are angled correctly, with the taper pointing outwards. Step back and confirm everything looks even before moving on.
Mark the Pilot Holes
Use the base plate of each leg as a guide and mark the hole positions with a pencil. Take a moment here to confirm the legs are square to the edges of the top and aligned with each other. Be patient as you work through this step - small adjustments now save frustration later.
Drill the Pilot Holes
Use a 2 mm to 3 mm drill bit to make pilot holes for the screws (included with your hairpin legs). This step is most important with hardwoods, as skipping pilot holes can cause you to split the timber when you actually go to attach the legs later on.
A simple tip: wrap a piece of tape around the drill bit at the correct depth so you don’t drill through the top by accident. Keep the drill straight and work slowly.
Attach the Legs
Fix the legs in place using a pozidriv screwdriver or bit, ideally a size #2 for the supplied screws. Drive each screw in firmly but don’t force it. Using a screwdriver that’s too small or too large makes it harder to tighten the fixings properly and can damage the screw head.
Check Stability and Make Final Adjustments
Flip the desk upright once all four legs are on and check it sits flat. Test it with a bit of pressure from multiple angles. You may consider adding a simple brace underneath if the top flexes, especially for wider desks or thinner tops.
All that’s left to do now (if you’d like) is fit floor protectors to the feet to stop marking and help fine-tune the level on uneven floors. That’s how to make a hairpin leg desk!
Final Thoughts on How to Make a Hairpin Leg Desk
There you have it, how to build a desk with hairpin legs. It’s pretty simple when you start with the right legs from a trusted brand like The Hairpin Leg Co., especially since we also include a detailed builder’s guide with your order for additional insights.
You can learn more about how to fix wobbly desk issues or dial in the ideal desk leg height in our blog if you’d like. Our support site has a wealth of resources on how to make a hairpin leg desk as well.
Otherwise, all that’s left to do now is get to work! We can’t wait to see what you create with our hairpin legs. Shop now or get in touch for one-on-one guidance choosing the perfect legs or walking through the project.


Leave a comment
This site is protected by hCaptcha and the hCaptcha Privacy Policy and Terms of Service apply.