





So you want unique, handcrafted furniture to transform your home interior, but you're scared to pick up a drill? We get it. Power tools can be intimidating, especially if you've never used them before.
At Hairpin, we pride ourselves on making quality furniture that you can put your own touch to. While we make our products as simple as possible to build, there is a level of construction required so you can breathe life into your design skills and end up with furniture you are truly proud of.
That's why we thought it was about time we outlined some of the key steps in using a drill so you can craft your Hairpin products with confidence, while also broadening your DIY finesse.
Attaching furniture legs, putting up shelves, installing hardware—these are all transferable skills to make your home truly your own. Read on for the breakdown of how to build better furniture with Hairpin!

What is a power drill?
We've all heard of them or seen them in action - you've likely even got one lying around the house - but what exactly is a power drill?
Well, this battery or cable powered tool can be used in a few ways. To create holes in things first off, and to fasten fixtures such as screws into place. It can also be used the other way, to undo something you no longer want to hold together. This comes in handy if you're swapping out old legs in a piece of furniture, or you decide to upgrade a pair of our legs further down the line.
Essentially, a power drill has the ability to drive things in and to pull them out, depending on what direction you have set it to.
When will I need it?
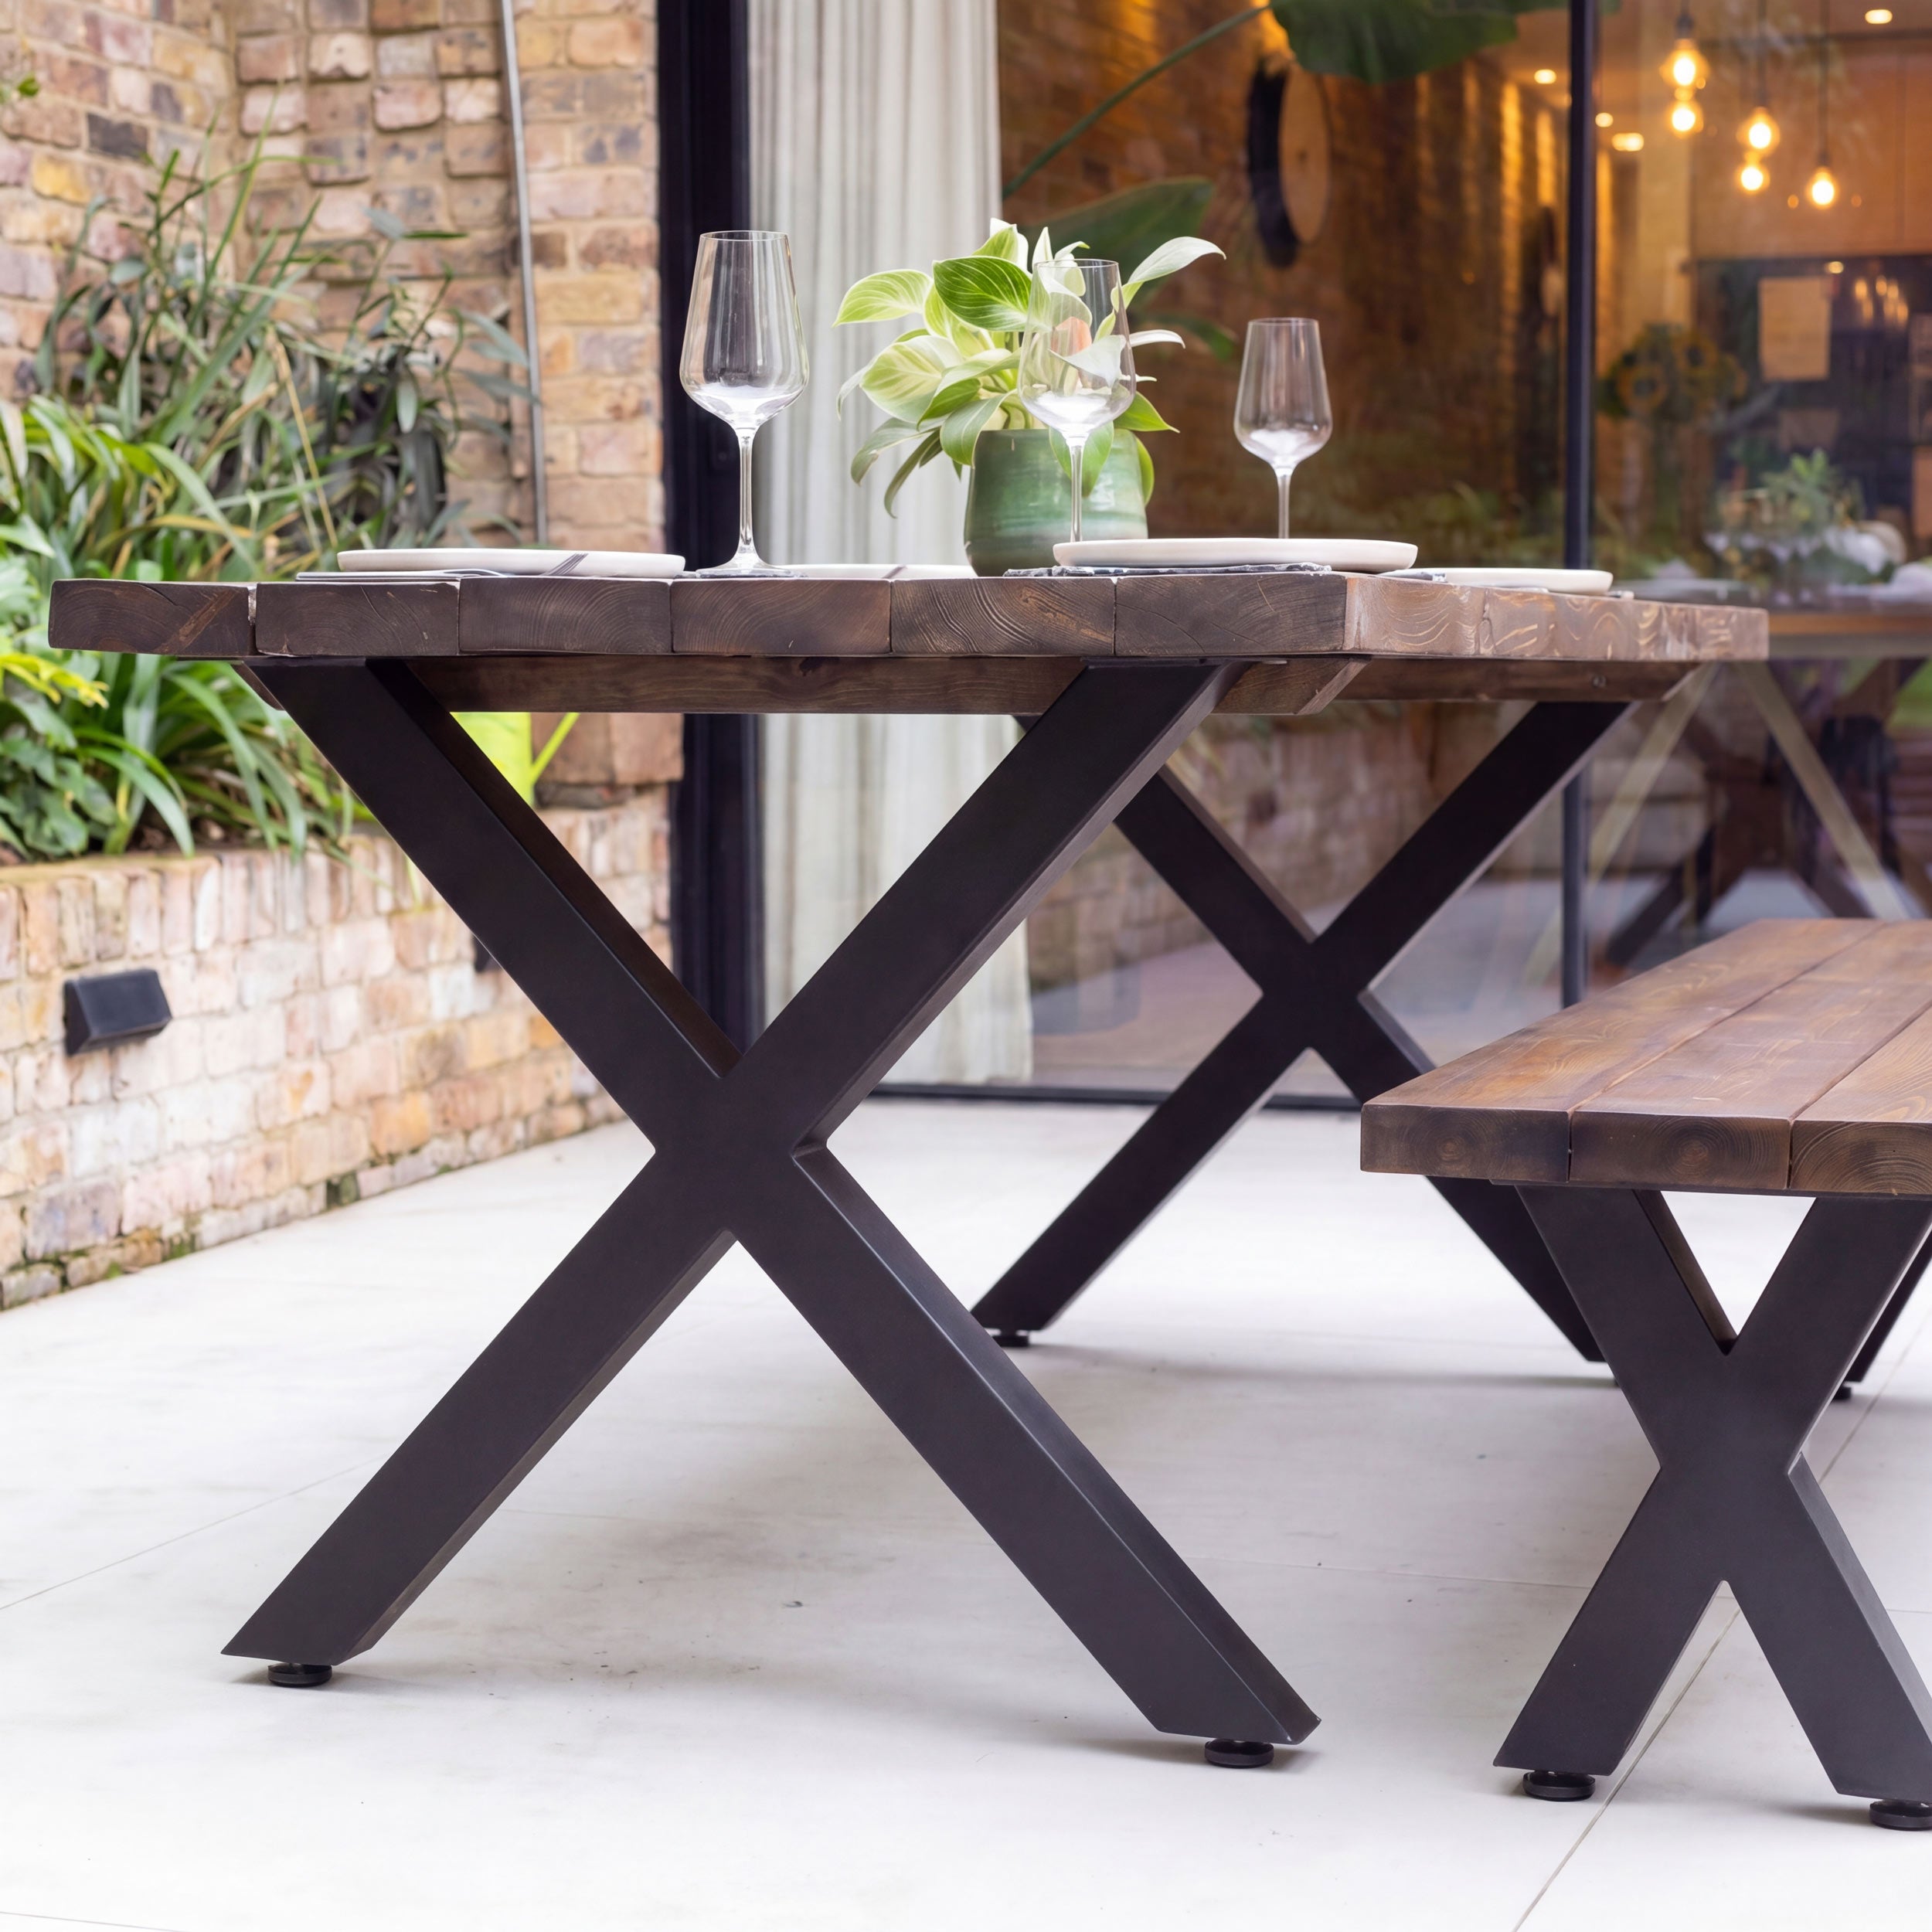
Our furniture empowers you to be involved in the design and making stages of your home, to make them truly feel like yours. This means you'll need a drill to put one of our tables together for example (attaching top and legs) or putting up one of our shelves.
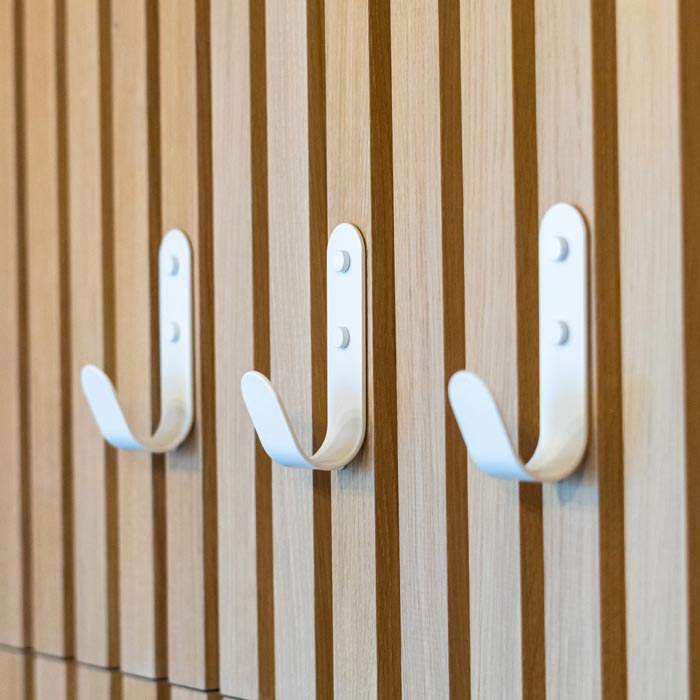
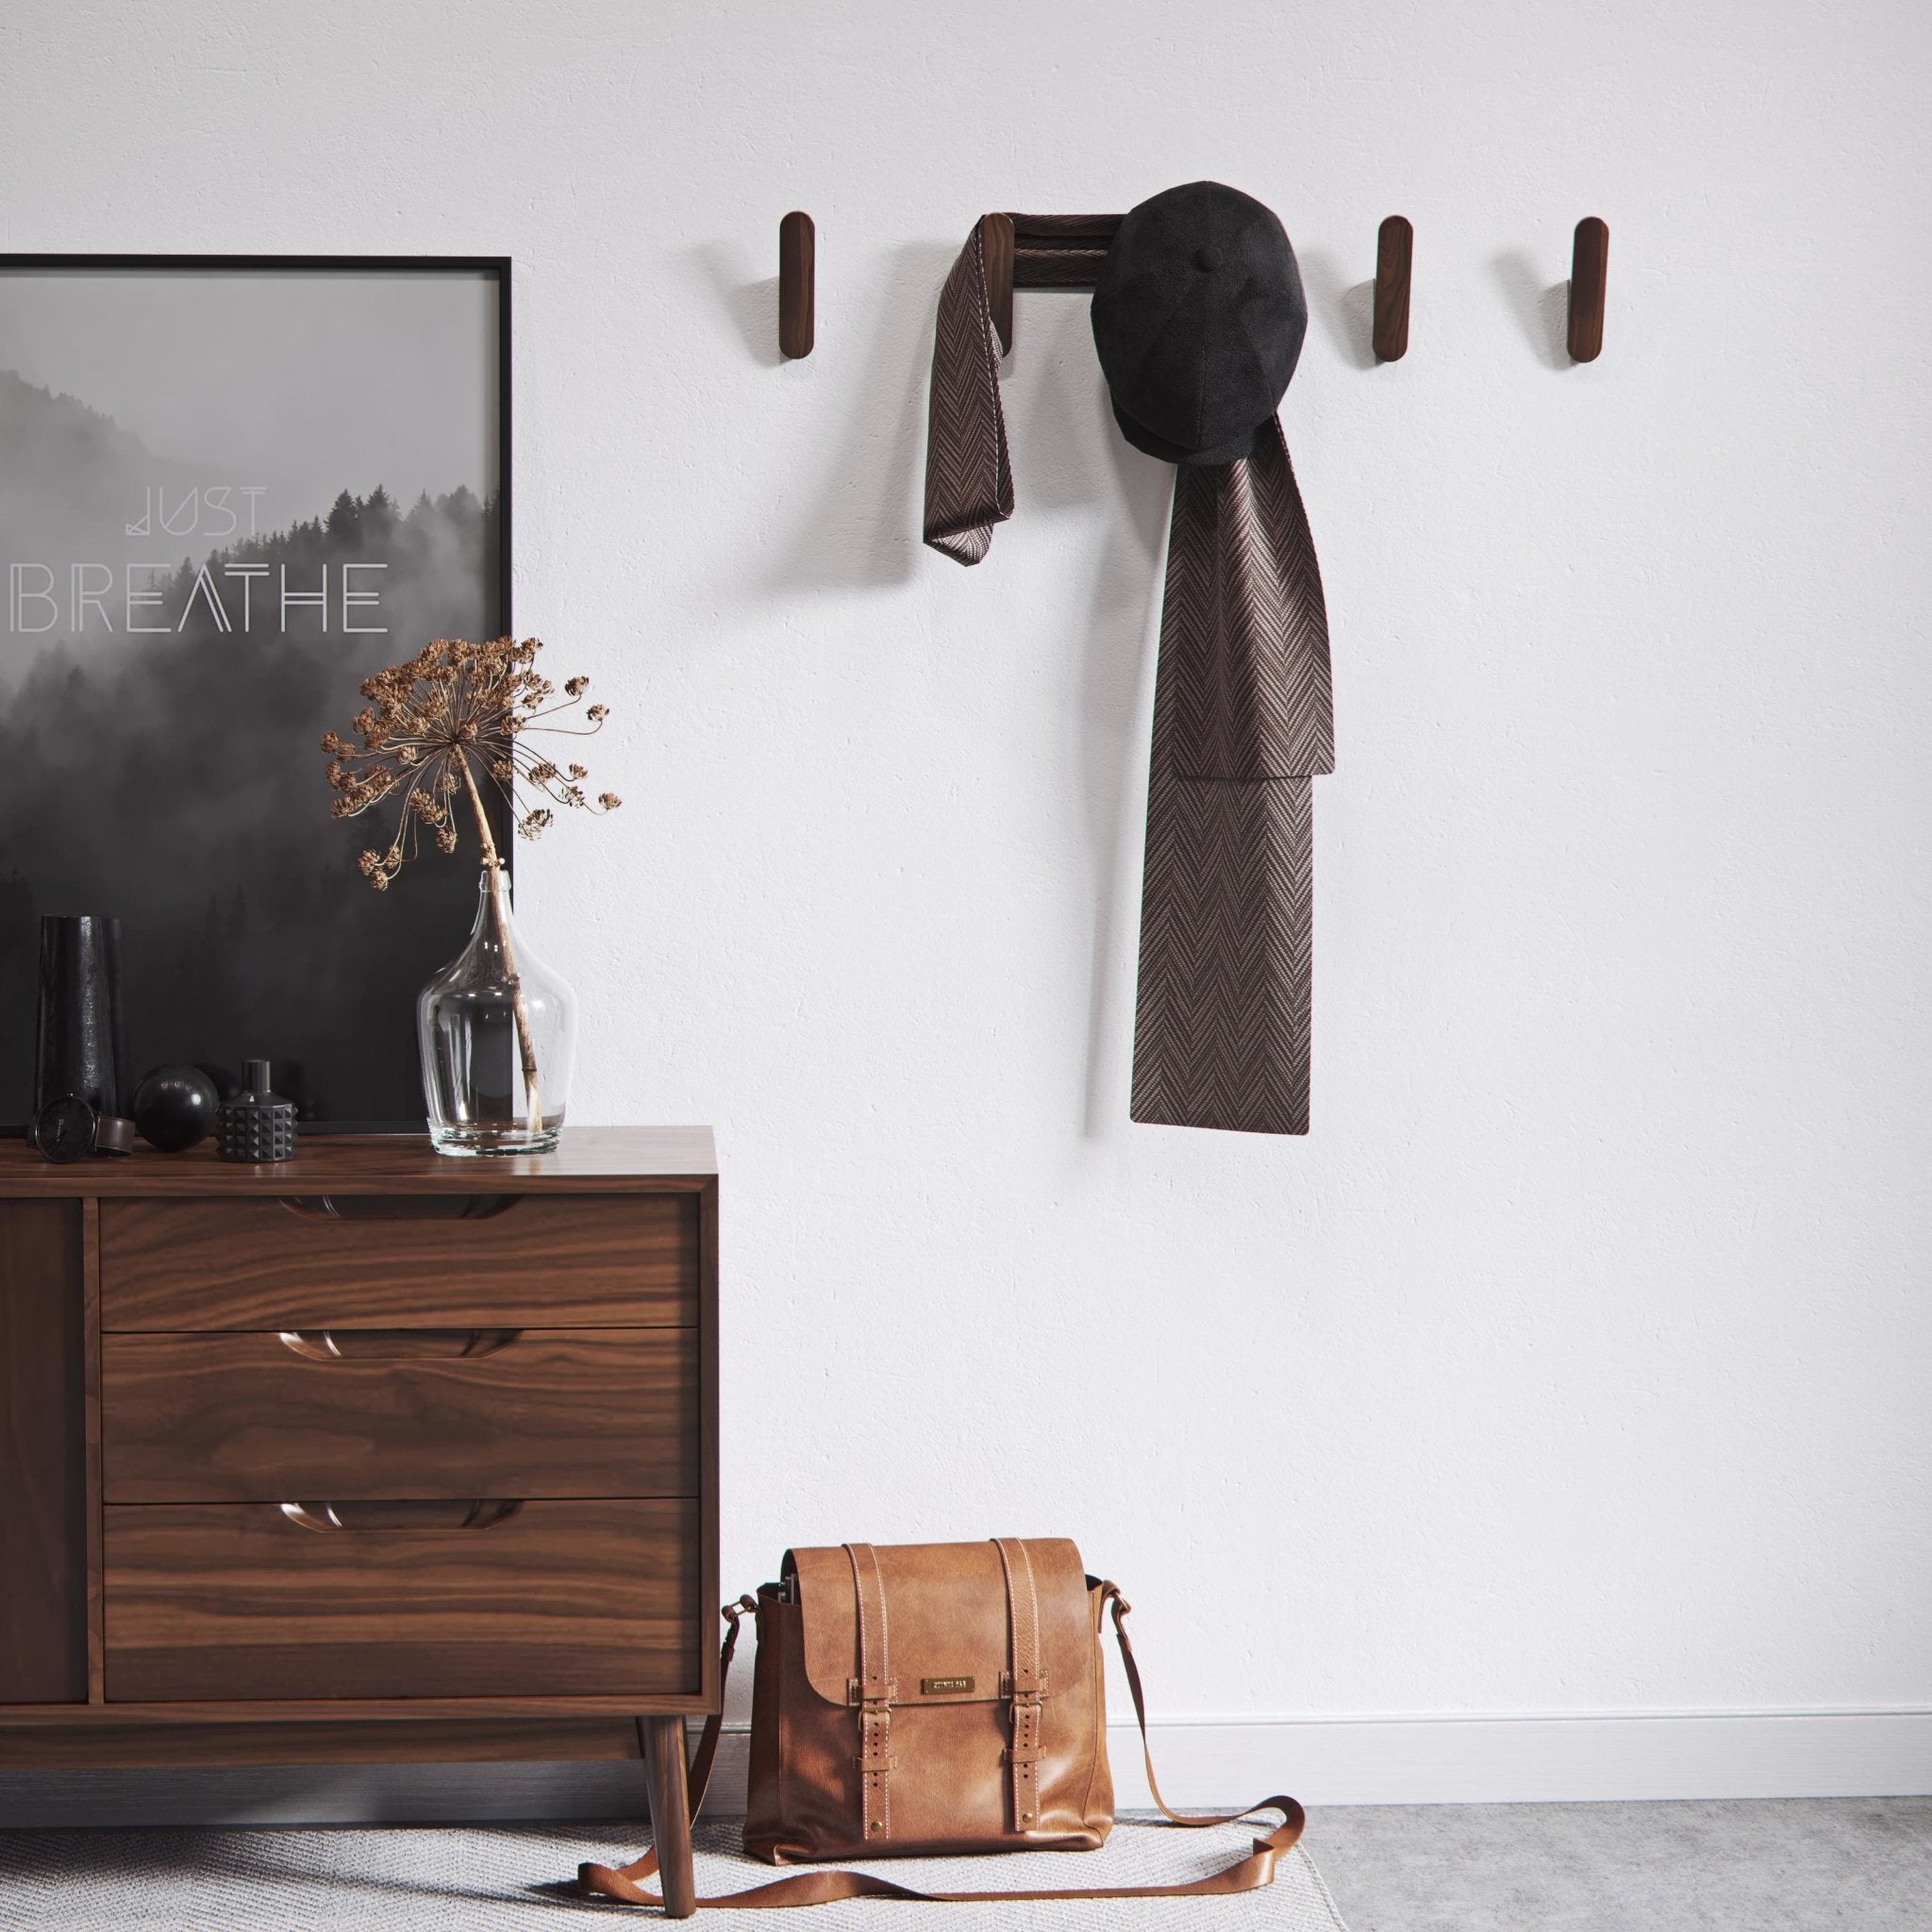
We also sell a range of hardware such as wall hooks that will need confident use of a drill to secure them in place.
That being said, Hairpin is a great place to start if you're new to power drilling, because we provide instructions with our products that help you easily line up your components before fixing them in place.
What do I need?
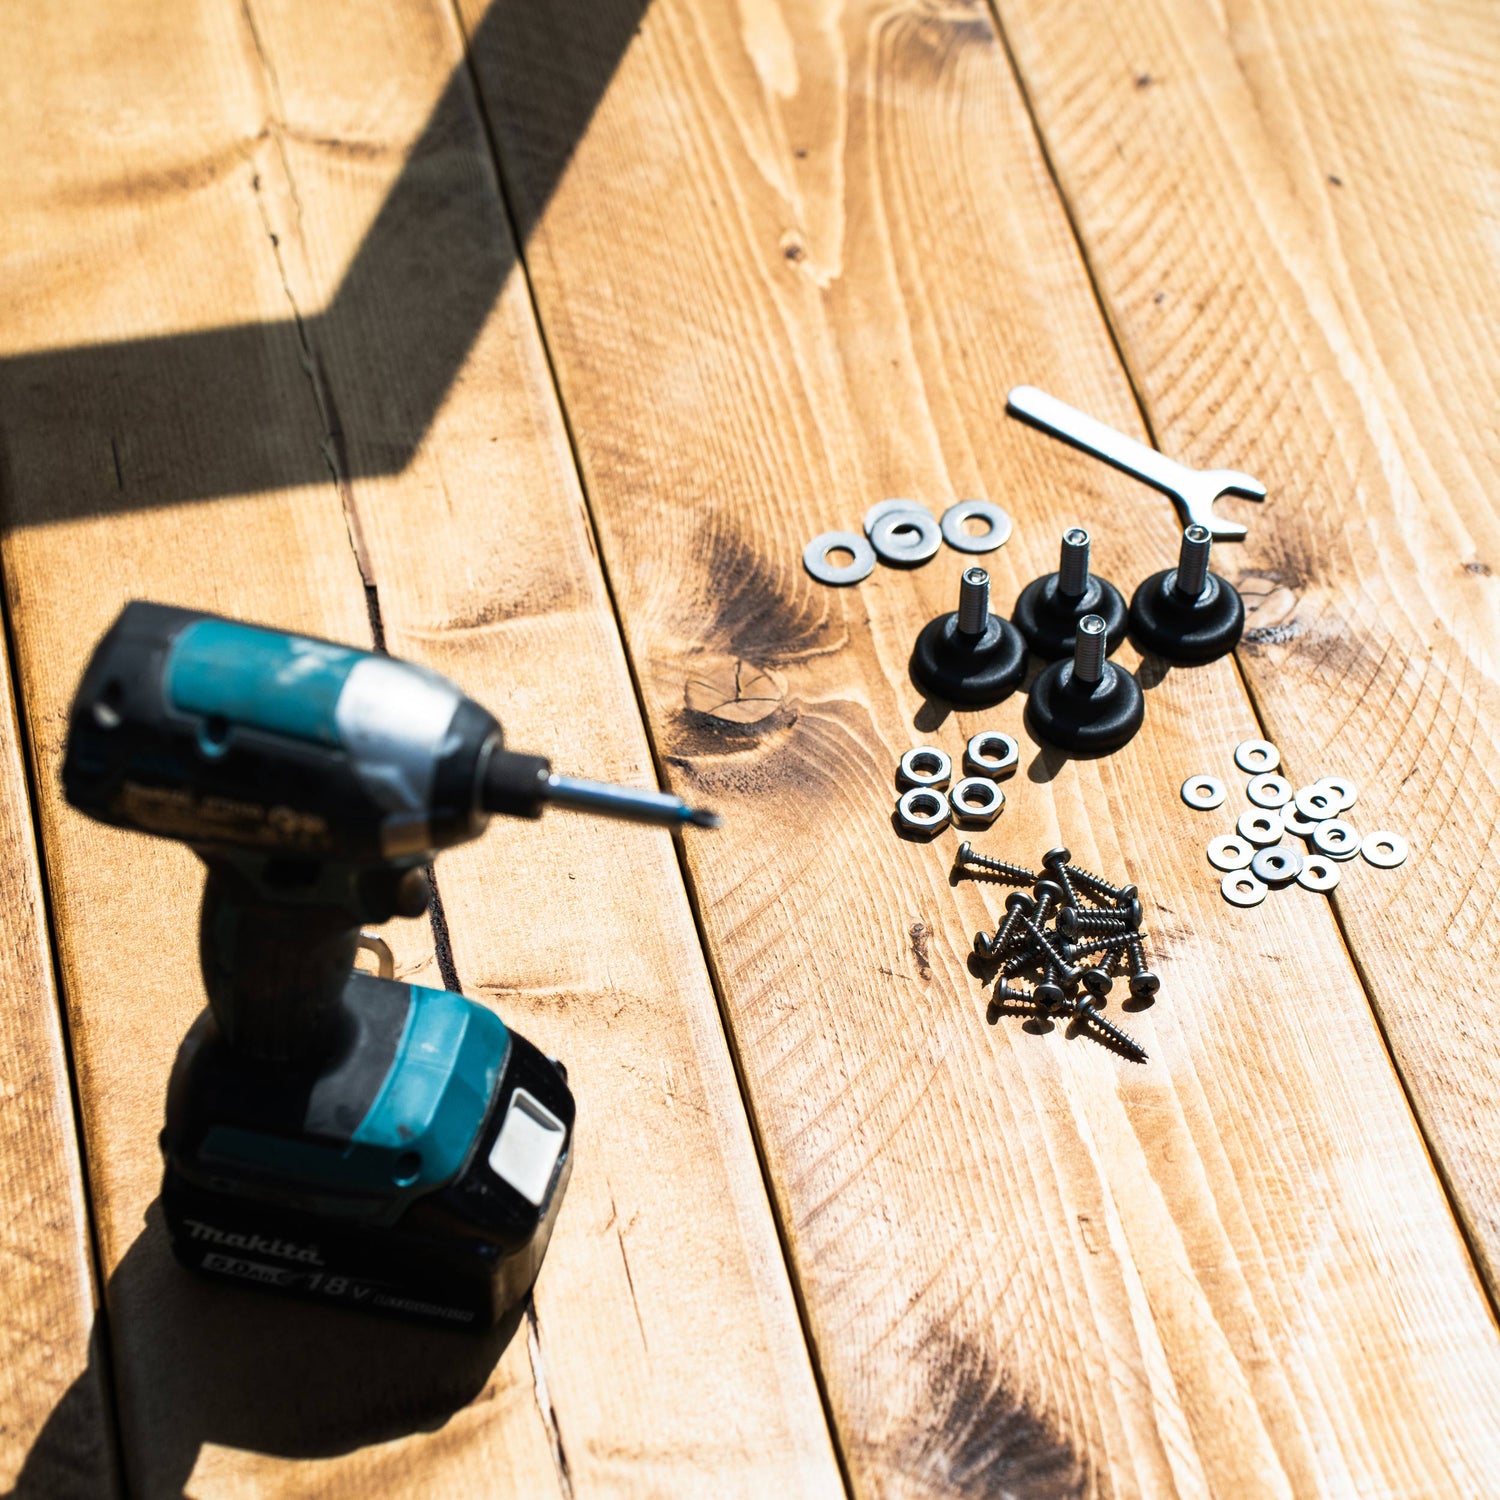
A standard power drill, such as a Bosch or Makita Cordless Combi Drill, should suffice for a Hairpin project, granted you're not drilling into too thick material (that might require an impact driver also).
You'll also need a pilot bit and a screwdriver bit—the first is to start off the hole, so when you come to begin driving the screw into place, you have something for it to grip on to.
That, a tape measure and a pencil is really all you need to get started with Hairpin. So, on with the build!

What do I do? aka how do I actually use a power drill?
There are a few safety precautions we'd encourage before you get started. Always wear protective eyewear in case there are any flailing bits as you drill, and be sure to set your project on a stable surface, so when you start using the tool there's no slippage.
We'd also suggest starting drilling at a lower speed to begin with, if you're not sure about the amount of force needed for your project.
Changing out drill bits
You can loosen or tighten the drill chuck to change out the bits. You can do this manually using your hand, holding the back part of the chuck and rotating the front part until it tightens the bit in place.
If you feel confident, you can also rotate the chuck using the power mechanism, but make sure your hand is steadily out of the way of the rotating part when doing this. The same goes for loosening the chuck to swap in a new bit.
Changing the direction of the drill
You can change the direction of the drill by pushing the forward/reverse button (usually on the side of the drill). If you're not sure what direction your drill is set to initially, press down the power button and see which way, clockwise or anti-clockwise, your bit is turning. This direction determines whether it is driving in or pulling out.
Changing the drill speed
There's often a slow and a faster speed on drills, which you can control with a switch. The slower setting is best for driving screws and the faster for creating holes.
Have a look at your drill to see what switches it provides to control the speed setting. While a general guide is helpful for getting familiar with this type of power tool, it's best to study the specific instructions that come with your drill, as they can all operate ever so slightly differently.
Changing the torque
This is slightly different to the drill speed in that the torque refers to the amount of force the drill uses to turn an object. Numbers typically range between 1 and 20, with the highest applying the most force.
With a Hairpin project, you likely won't need anything crazy, but it's good to know you can up the anti if needed to attach components together in a secure and safe way.

So, am I good to go?
These are the basics when it comes to drilling, but they are sufficient for getting you going with a Hairpin build—when we say we're here to empower everyone to make furniture, we truly do mean it!
The whole concept of designing and assembling your own furniture has been developed by us to encourage everyone to pick up a drill with confidence.
We hope this post has shed some light on the mystique of drilling, and if after all this you're still not convinced, then watch this space, as we have a new pre-drilling service coming your way too.
What do you think of this guide? Have you gained some confidence in your drilling skills since joining us at Hairpin? Do you have other ideas of what's holding you back from making beautiful, custom furniture for your home? Whatever they are, we'd love to hear your thoughts in the comments below.
Shop our legs, tops, shelves, hardware and more at Hairpin.com.
And check out this quick video guide on our Instagram.

Leave a comment
This site is protected by hCaptcha and the hCaptcha Privacy Policy and Terms of Service apply.